
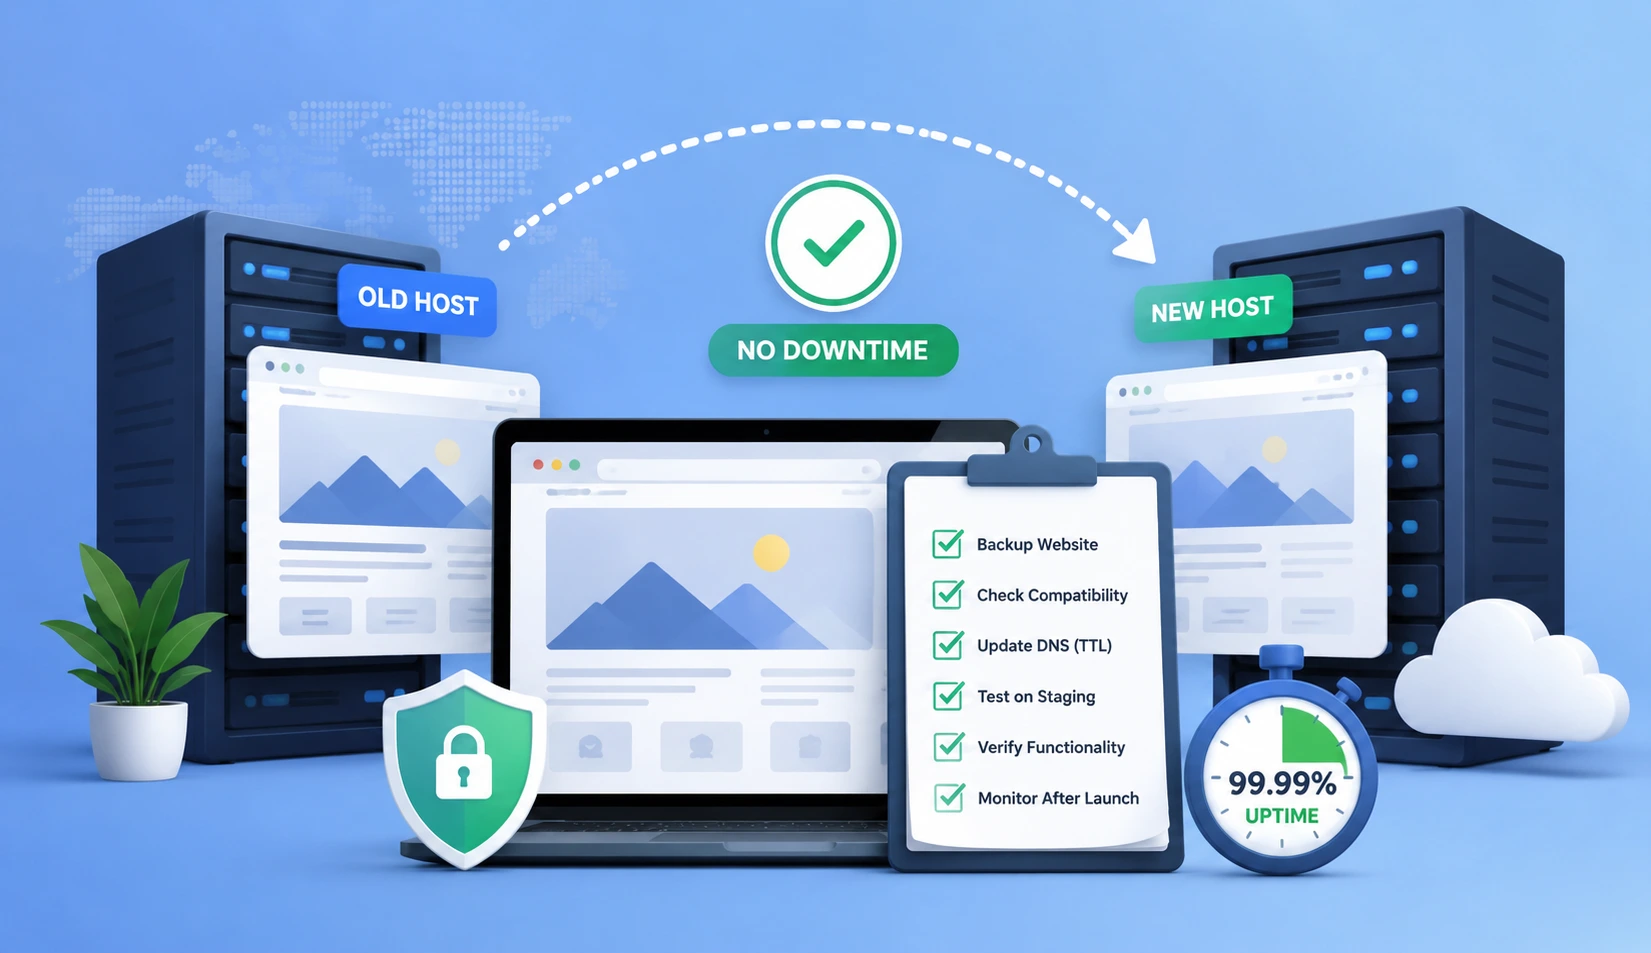
A client once called us on a Tuesday morning in a panic. Their team had moved their site to a new host the night before, and by 8 a.m. half their checkout pages were throwing 404 errors. Orders stopped. Support tickets piled up. By the time we untangled the DNS mess, they’d lost the better part of a business day, and a chunk of their search rankings took weeks to recover.
That story isn’t rare. It’s what happens when a website migration checklist gets skipped in favor of “let’s just move it this weekend.”
Moving hosts, upgrading servers, or migrating to the cloud shouldn’t feel like a gamble. With the right sequence, you can complete a hosting migration guide from start to finish and have zero downtime migration be the actual outcome, not just the goal. This guide walks through exactly how.
Why Website Migrations Go Wrong
Most migration disasters trace back to three root causes:
- No rollback plan. Teams move forward without a tested way to reverse the change if something breaks.
- DNS mismanagement. Propagation delays get ignored, so visitors land on a half-configured server.
- Untested database transfers. Content, orders, or user accounts get corrupted mid-transfer and nobody notices until customers complain.
None of these are hosting problems. They’re planning problems. That’s good news, because planning is fixable.
Pre-Migration Planning Checklist
Before you touch a single server setting, work through this list:
- Audit your current environment. Document every subdomain, email configuration, SSL certificate, and third-party integration (payment gateways, CRMs, analytics scripts).
- Choose a migration window. Pick your lowest-traffic period, and confirm it with your analytics data rather than guessing.
- Back up everything twice. One backup on your current host, one stored independently (a separate cloud drive or external service).
- Set up the new environment in parallel. Never migrate by shutting down the old site first. Build the new one alongside it.
- Lower your DNS TTL (Time to Live) 48 hours in advance. This is the single most overlooked step. A shorter TTL means DNS changes propagate in minutes instead of up to 72 hours.
A Real-World Scenario
A SaaS company we worked with had a TTL set to 24 hours by default. When they moved hosts, some visitors kept hitting the old server for a full day, sporadically failing login attempts. Dropping the TTL to 300 seconds a week ahead of time would have prevented it entirely. It’s a five-minute setting that saves you a five-alarm fire.
The Zero Downtime Migration Method
The core idea behind zero downtime migration is simple: the old site stays live while the new one goes through final checks. Nothing gets switched off until the new environment is proven.
Here’s the sequence that works:
- Stand up the new server or hosting plan without touching DNS yet.
- Migrate the database first, then re-sync any changes made on the live site right before cutover.
- Migrate files and media (images, uploads, cached assets).
- Test the new environment using a staging URL or a local hosts file edit — this lets your team browse the new site exactly as visitors will, without exposing it publicly.
- Run a full QA pass: forms, checkout flows, login systems, and any API integrations.
- Update DNS records once testing is clean.
- Monitor both environments for 24–48 hours after cutover, keeping the old server active as a fallback.
- Decommission the old host only after a full week of clean traffic on the new one.
This approach costs you a little patience. It buys you the ability to walk back the entire move if step 5 turns something up.
Protecting Your SEO Rankings During the Move
Rankings are usually the second casualty of a bad migration, right after uptime. To keep them intact:
- Keep URL structures identical wherever possible. If they must change, set up 301 redirects for every single page, not just the homepage.
- Resubmit your sitemap in Search Console immediately after cutover.
- Monitor crawl errors daily for the first two weeks.
- Verify that robots.txt on the new server isn’t accidentally blocking search engines (this happens more often than you’d think when staging configurations get copied over as-is).
According to widely cited industry benchmarks, businesses lose measurable revenue for every minute of unplanned downtime, and recovery of lost search visibility after a botched migration commonly takes anywhere from a few weeks to a couple of months. Prevention is far cheaper than recovery in both cases.
Common Migration Mistakes to Avoid
- Migrating on a Friday. If anything breaks, you’re troubleshooting over a weekend with a skeleton crew.
- Forgetting email. MX records need their own migration plan; a mismanaged switch can bounce business email for days.
- Skipping SSL certificate reinstallation. A missing certificate on launch day triggers browser security warnings that scare away visitors instantly.
- Not informing your team. Customer support should know the exact migration window so they’re not blindsided by a wave of “the site’s down” tickets.
- Assuming your CMS plugins will just work. Some caching, security, or SEO plugins store server-specific configurations that need to be rebuilt, not copied.
Post-Migration Verification Steps
Once DNS has propagated, run through this final pass:
- Confirm SSL is active and showing no mixed-content warnings.
- Test every form (contact, checkout, signup) end to end.
- Check page load speed against your pre-migration benchmark.
- Verify all redirects return a 301, not a 302 or 404.
- Confirm email deliverability with a test send and receive.
- Check that analytics and tracking pixels are firing correctly on the new environment.
Expert Advice for High-Traffic Sites
For sites doing significant daily transactions, consider a blue-green deployment approach: run two identical production environments, and switch traffic between them using a load balancer rather than DNS alone. This shrinks your cutover window from hours to seconds and gives you an instant rollback switch if anything looks off. It’s more infrastructure to manage upfront, but for revenue-critical sites, it’s often worth the investment.
Conclusion
A website migration checklist isn’t about being overly cautious. It’s about making sure a routine infrastructure change never becomes a customer-facing emergency. Plan the DNS timing, build in parallel, test before you cut over, and keep a rollback option ready. Do that, and a hosting migration guide stops being a source of dread and becomes just another Tuesday.
Frequently Asked Questions
1. How long does a typical website migration take?
For a standard business website, migration itself takes a few hours once everything is staged and tested. The planning and testing phase beforehand typically takes one to two weeks for a proper job.
2. Will I lose my SEO rankings after migrating?
Not if URLs and redirects are handled correctly. Most sites see a brief, minor fluctuation in rankings that recovers within a few weeks, provided 301 redirects and sitemap resubmission are done immediately.
3. What’s the safest day of the week to migrate a website?
Early in the week, typically Tuesday or Wednesday, so your team has full support availability if something needs fixing before the weekend.
4. Do I need to migrate my email separately from my website?
Yes. Email runs on MX records, which are configured independently from your website’s A records. Treat email migration as its own checklist item.
5. What’s the biggest cause of downtime during migrations?
DNS propagation delays combined with a high TTL setting. Lowering your TTL 48 hours before migration is one of the simplest ways to avoid this.